
 01780 480 562


ShopMate EPoS
Product Group
Step: 1

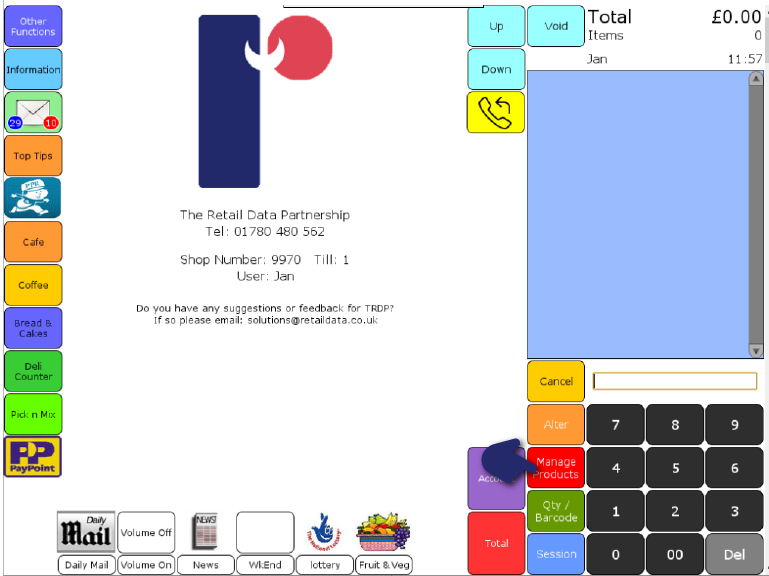
Press Other functions, Product & Prices and then Product Group. To create a group, press New Group on the top right of the screen. A new window will open similar to the image on the right.
Step: 2
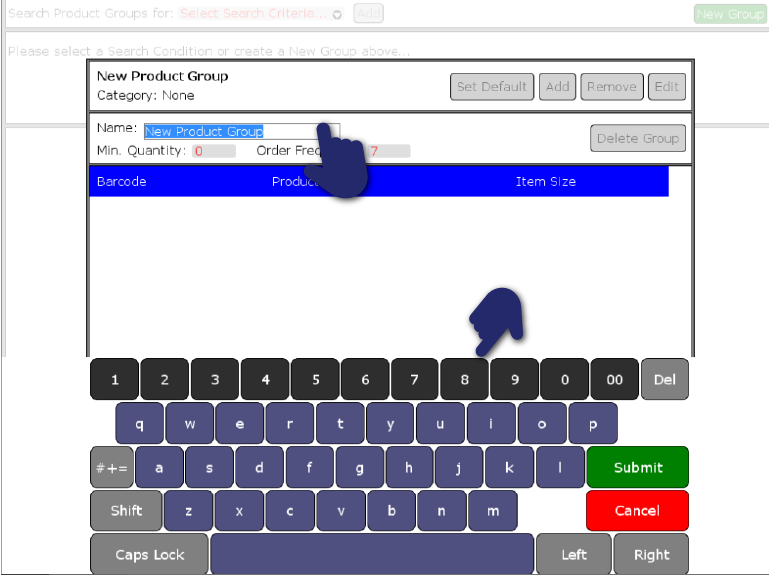
Create a name for your group by pressing the text input box next to Name. An onscreen keyboard will display, press Submit.
Step: 3

If you want your group to have an automatic re-order process set the ‘Minimum Quantity’ to the amount of stock that you want and the Order frequency rate.Press Save
Step: 4
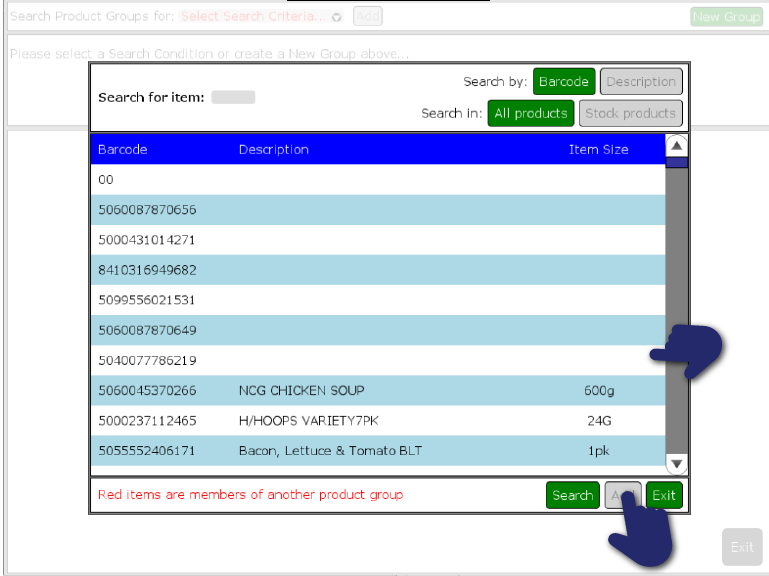
The window will change to ‘Edit Product Group’, to add a product to your group, press Add. This will display a list of all your products, you can select a product from the existing list or use the search for item to narrow down the list. Select a product, it will highlight yellow and then press Add.
Step: 5
When you add your first product, the group will be assigned a category, the category will be taken from the product, this means the group now created will only have products added from that category. For example, you add ‘7 UP’ as your first product, press Exit, in the header and it will show Category as drinks. When you press Add it will show all the products for the drinks category. Once you have added all the products that you want, press Exit, this will return you to the group, press Exit again and this will close the group window.
Need more help?
Contact our Technical Support team.
Contact our Technical Support team.
 |
95% of issues resolved on the phone |
 |
Speak to ShopMate experts every time |
 |
UK-Based Customer & Technical Support |
 |
365-day support as standard |